|
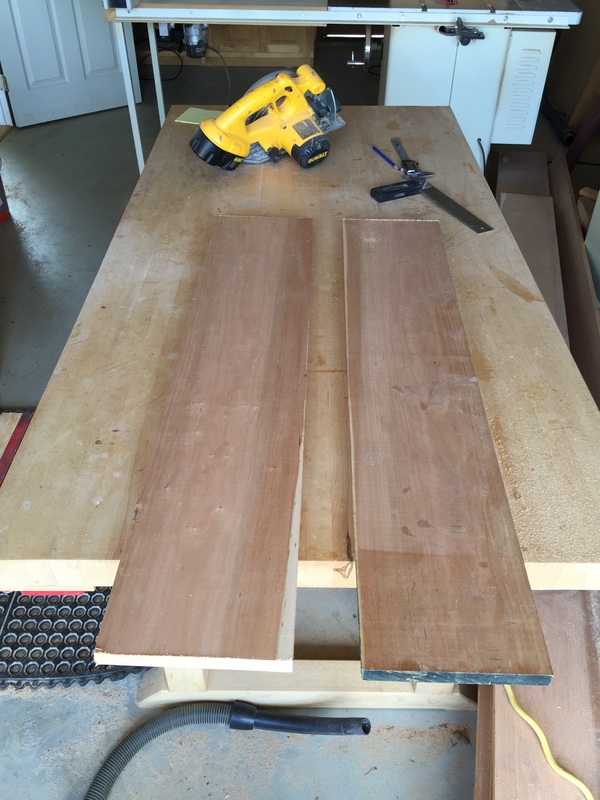
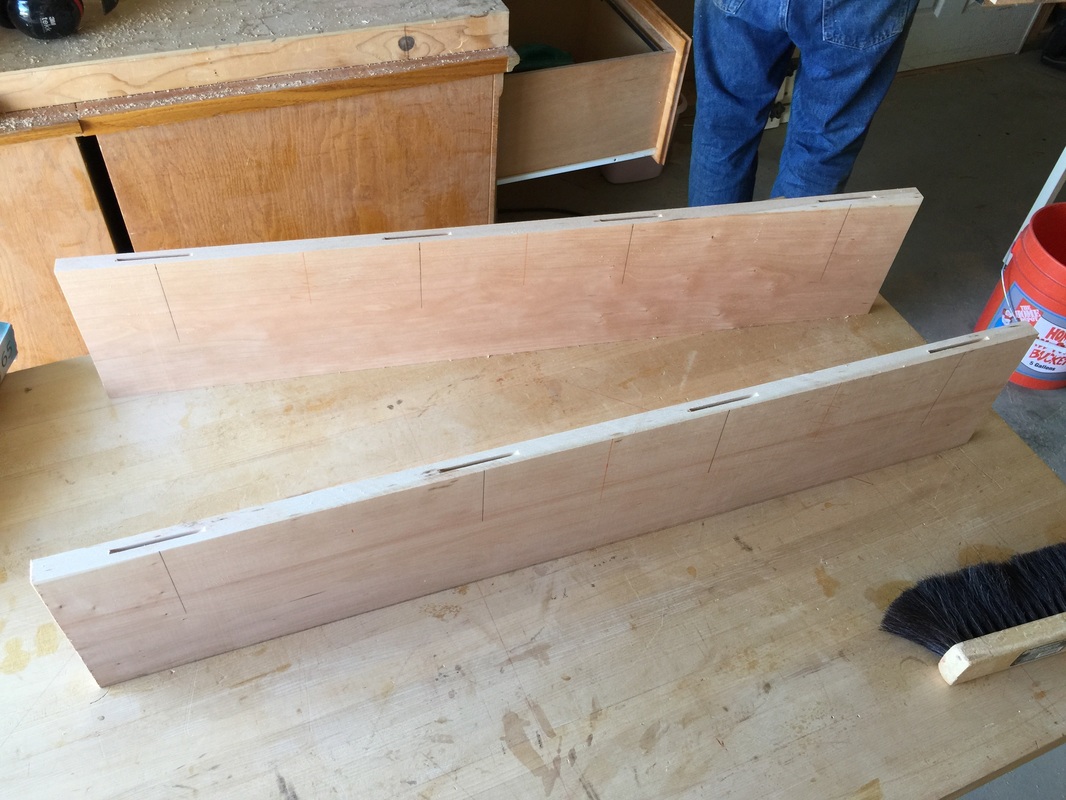
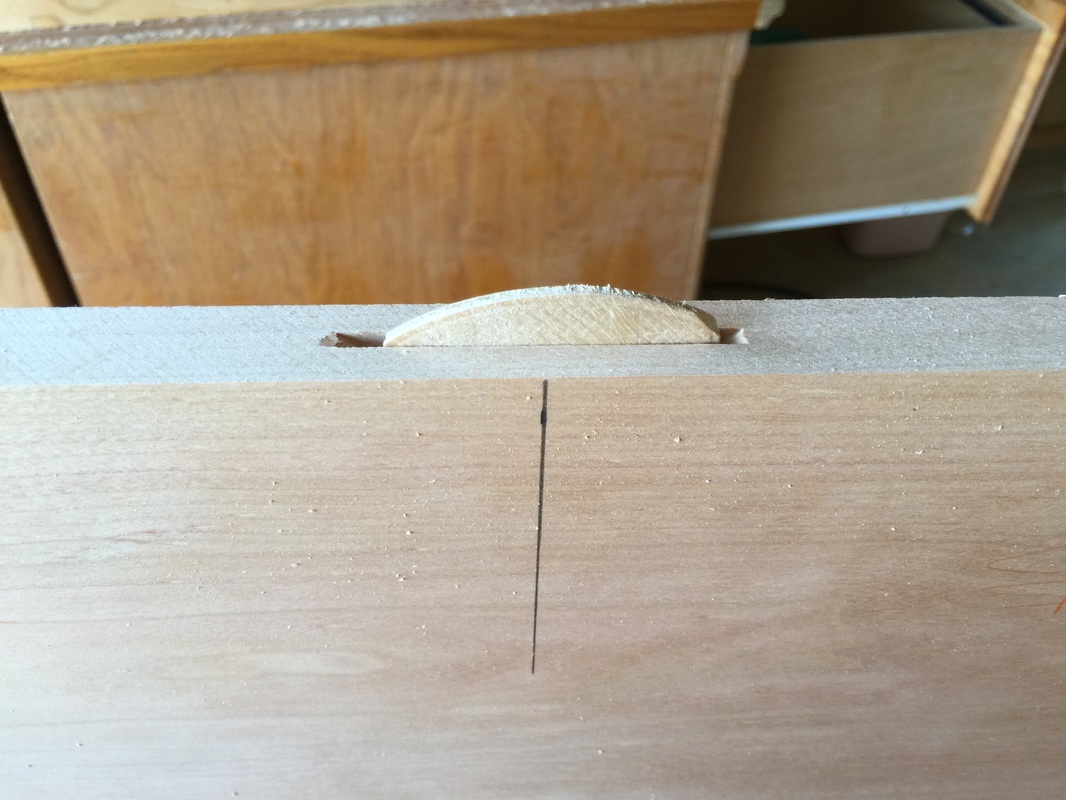
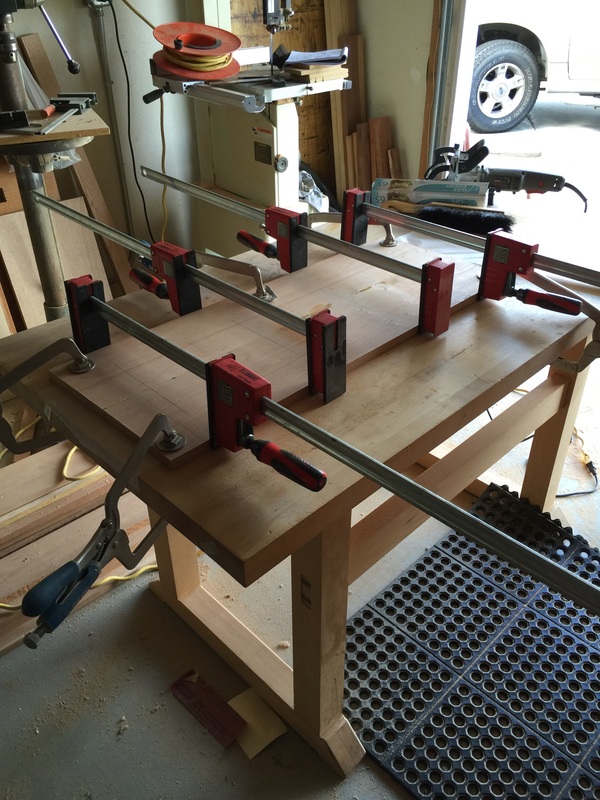
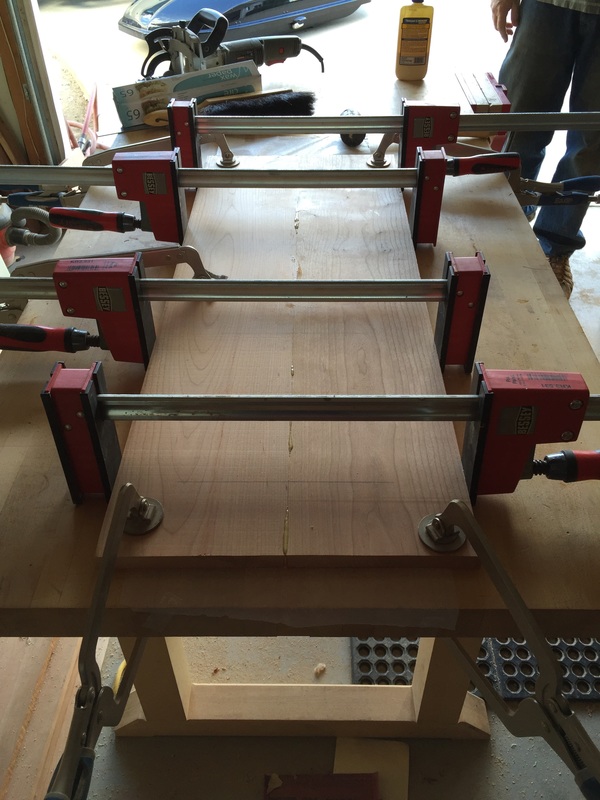
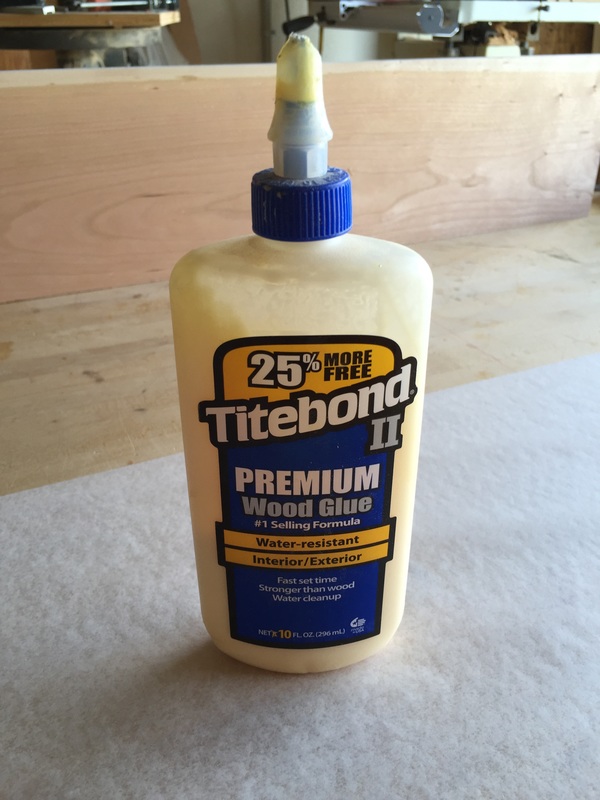
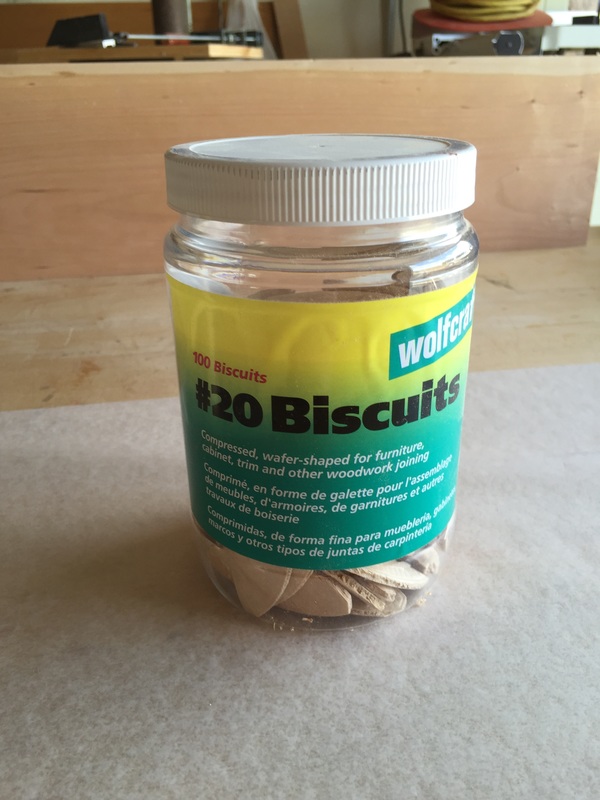
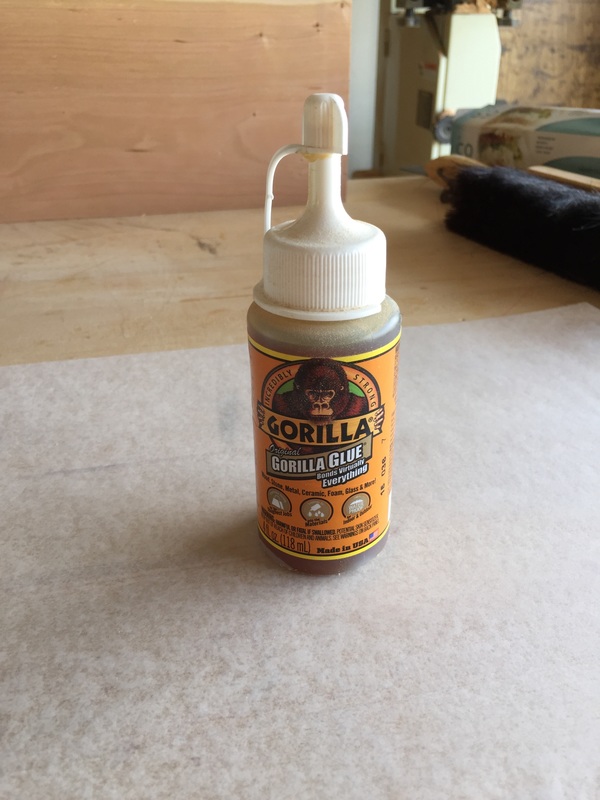
This week I transitioned from planing the boards to sawing and gluing. I must admit these processes overlap, but I am sure you heard enough about planing! Anyways, after using the planer to produce the desired thickness for the boards (0.75"), I moved to sawing. Before actually sawing, I had to measure (twice, of course). I looked back at my trusty design and measured accordingly. I made some changes along the way that I will not go into, but suffice it to say that the project was much different once I got my hands on it. The boards I am focusing on for this post will compose one of the shelves (see Week #3 for the design). I measured the boards out by measuring from the edge with a tape measure and marking the right lengths. I used a level-ruler to make the line perpendicular to the sides of the board. Then, I used a handsaw to cut the boards. After cutting the length, I had to "rip" the boards. My dad helped me learn to use three jigs for this process. (I will post pictures of them in the future.) The first jig ensures that the board does not jump up from the blade. Essentially it clamps down the board and then you push the board through the table saw. The second provides a straight side with which to make a board with two crooked sides straight along the length. The third jig moves a board across the table saw widthwise and evenly. After ripping the boards, I had four boards ready to go. Then the fun began! I have to glue the boards, but I will not just be using glue. Instead, I will use a process called biscuiting or plane joining. To do this process, I had to use a plane joiner, which I have never used before. I performed a test run with this tool, then was ready to try the real deal. The blade for the plane joiner is curved and needs to be driven into the side of the boards that will be glued (see photos below). Both boards that I glued for this post have lines drawn where the biscuits will go. I line up the plane joiner at those lines on the boards and drive the blade forward with my hand while holding the trigger for power. The process is easier than it sounds, but I was definitely afraid I would ruin the boards! The final part of this process was the actual gluing. I taped down wax paper to the table so that the boards would not be glued to it. Then, I used two different glue types at my dad's advice. I had planned on just using wood glue, but he said the gorilla glue works better for the planes while the wood glue is good for the notches. Prior to applying the glue, I wetted down the wood so that it does not dry out and crack. I applied the glue and left it to stand for two minutes. Then, I connected the boards with biscuits and glue. The final, final step was to clamp the boards together. I used four parallel clamps (red) to clamp the boards together and four face clamps (blue) on the edges to keep the boards from moving on the table. You might be able to see in the photos that the boards are not exactly the same length. They should not shift during gluing, which takes about two hours to dry, but in any case I will be cutting the boards to the same length after gluing them together. It makes no sense to have the same length prior to gluing simply because it is difficult to line them up by hand. The better route is to leave a couple inches extra and line them up perfectly with an incredibly sharp blade.
2 Comments
Staci Henry
5/9/2016 08:41:48 pm
Great progress Chris. Your book shelf is coming along nicely.
Chris Ratican
5/10/2016 07:16:06 am
Hi Staci, Leave a Reply. |
Archives
May 2016
Categories |

 RSS Feed
