|
At the brainstorming phase of this project, I listed some inquiry questions that would drive my learning. For this reflection I will return to these questions and provide some tentative answers.
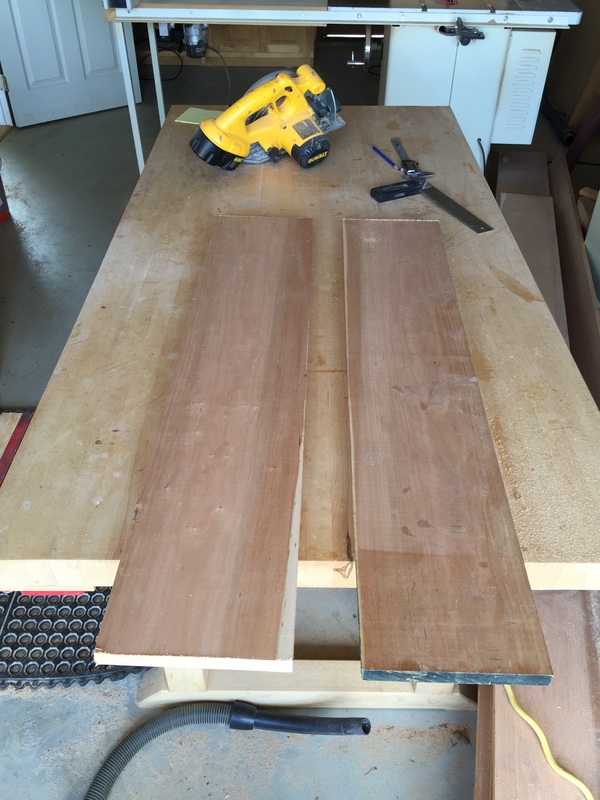
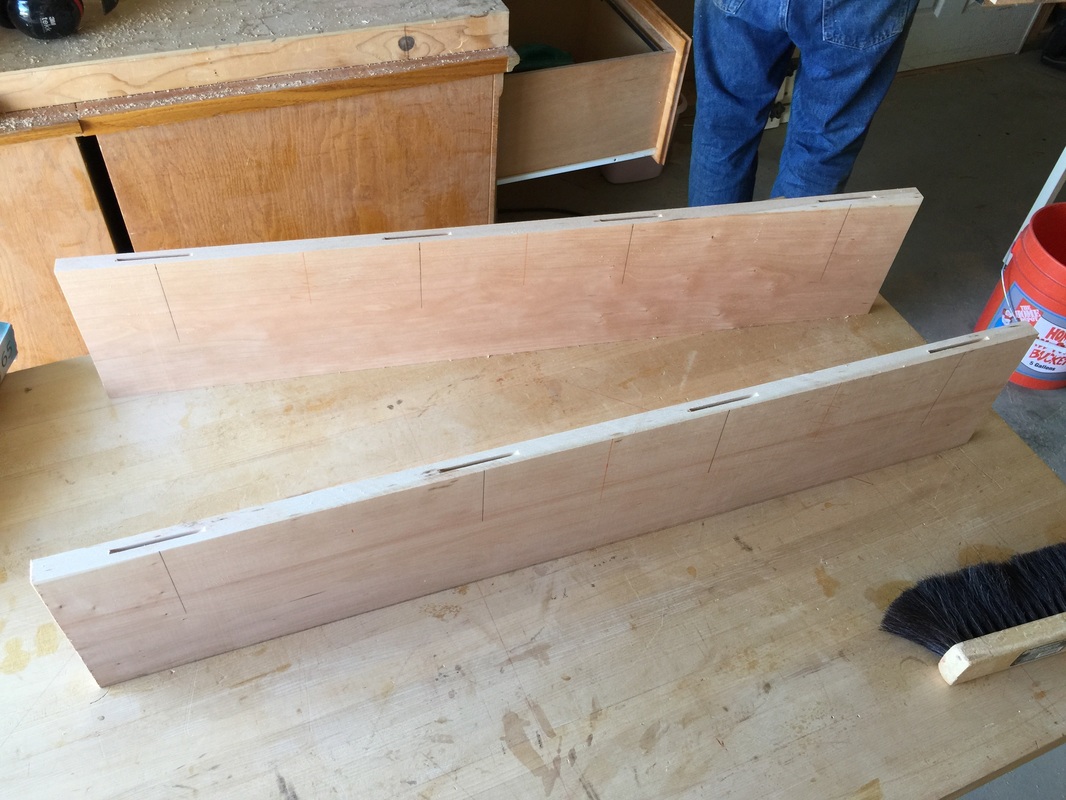
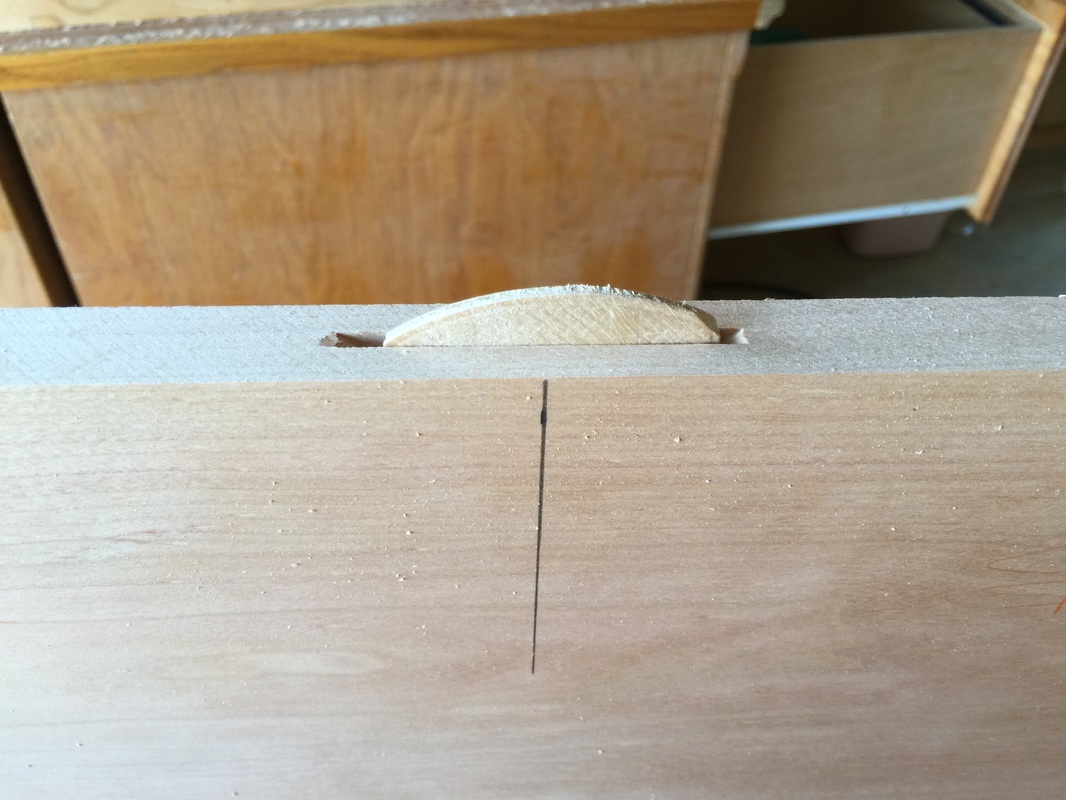
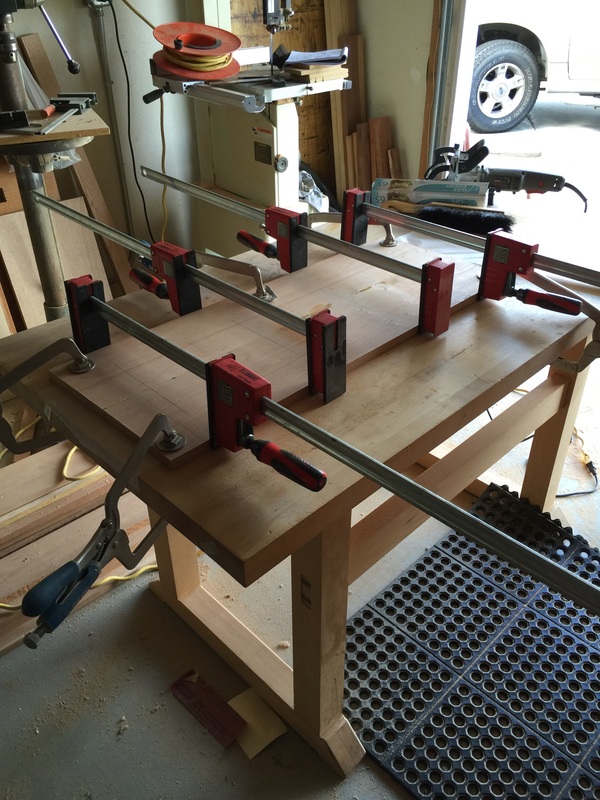
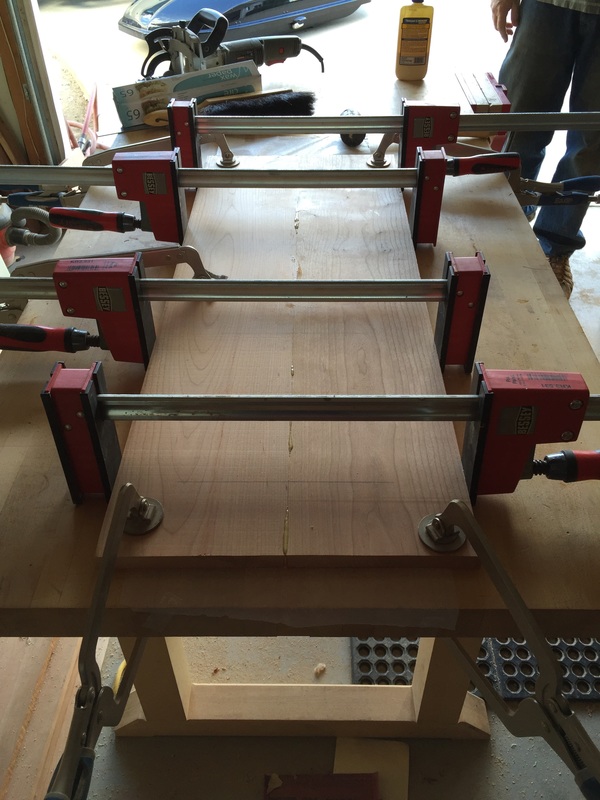
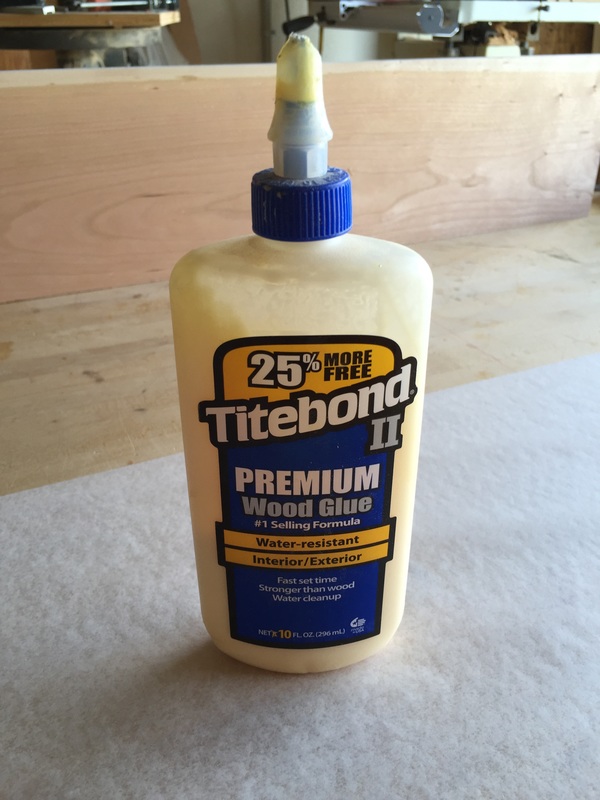
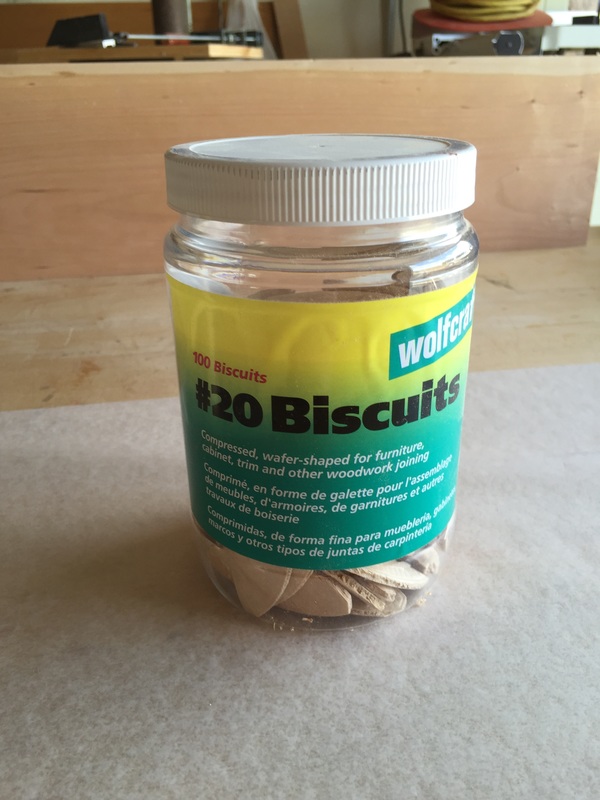
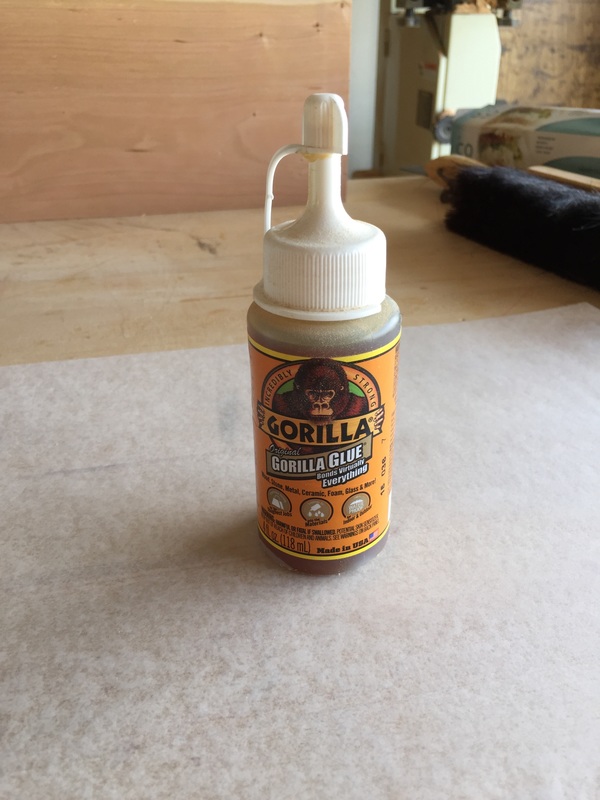
1. How will I measure my abilities? The easiest way to measure my abilities during this project was through repetition and improvement. For example, I was uncomfortable using the surfacer at first because I did not want to ruin the boards or the machine. However, after watching videos, receiving advice from my dad, and working with the machine repeatedly, I gradually became more comfortable with my abilities. The outcomes were better as well, so I had evidence that my abilities were increasing. 2. How will I ensure I am participating in genuine learning? I think when I wrote this question that it would be difficult to answer, but upon reflection it is pretty simple. I learned a ton throughout this project about woodworking and also how I learn. I am realizing that I have become more of a visual learner over time, but ultimately I need to get my hands on something to learn it genuinely. This project supported the hands-on learning, so I know it was genuine for my learning style. 3. How much time will I devote each week to my project? The edTPA break and stress really disrupted my devotion to this project. I started out really strong and then fizzled for about a month. I did not devote the time I wanted to each week, but I pretty much accomplished the tasks I wanted to, e.g. get the wood, design the bookcase, and start the work. 4. How will I supplement my learning? I supplemented my learning by watching videos and talking to my dad about woodworking. I explored websites and researched best practices. 5. How will I stay on track with my schedule? This question is still open because I did not stay on track with my schedule. I think if I just made the time each week I would have been on track, but I felt extremely weighed down by stress from my site and the edTPA. Since I am going to continue working on my bookcase, I will try to update this later. 6. How will I apply my learning to my teaching practice? This project supports the belief that the one doing the work is doing the learning. It reinforced for me that students need to be working and thinking. It was only when I was in the workshop with wood or a machine in my hands that I truly embodied the learning. 7. What are the soft skills I hope to acquire from this project? I would like to say I persevered through this project, but the edTPA really set me back. I hope I can revisit this question with better answers in the future. 8. When will I apply the knowledge I acquire from this project? I plan on making many more projects and hopefully having a shop of my own one day. The real challenge will be keeping the knowledge fresh. 9. Where are more resources for this project? The Internet. There are videos, entire websites, and manuals all online. My dad was a huge resource for this project as well. Nothing beats having an enthusiast at the shop. 10. How can I collaborate with others to accomplish this project? I collaborated with my dad on this project as far as feedback on the design and help with the process. I am indebted to my house members as well for their support and feedback. 11. Where are there communities I can join for help with this project? I did not end up finding communities to help with the project. Doing so would be the next step to becoming an authentic member of the woodworking community. 12. How can I implement play into this project? I definitely played with the design, but I must admit I was hesitant to make mistakes due to the cost. I think when I become more confident with the work I can implement more play into future projects. This week I transitioned from planing the boards to sawing and gluing. I must admit these processes overlap, but I am sure you heard enough about planing! Anyways, after using the planer to produce the desired thickness for the boards (0.75"), I moved to sawing. Before actually sawing, I had to measure (twice, of course). I looked back at my trusty design and measured accordingly. I made some changes along the way that I will not go into, but suffice it to say that the project was much different once I got my hands on it. The boards I am focusing on for this post will compose one of the shelves (see Week #3 for the design). I measured the boards out by measuring from the edge with a tape measure and marking the right lengths. I used a level-ruler to make the line perpendicular to the sides of the board. Then, I used a handsaw to cut the boards. After cutting the length, I had to "rip" the boards. My dad helped me learn to use three jigs for this process. (I will post pictures of them in the future.) The first jig ensures that the board does not jump up from the blade. Essentially it clamps down the board and then you push the board through the table saw. The second provides a straight side with which to make a board with two crooked sides straight along the length. The third jig moves a board across the table saw widthwise and evenly. After ripping the boards, I had four boards ready to go. Then the fun began! I have to glue the boards, but I will not just be using glue. Instead, I will use a process called biscuiting or plane joining. To do this process, I had to use a plane joiner, which I have never used before. I performed a test run with this tool, then was ready to try the real deal. The blade for the plane joiner is curved and needs to be driven into the side of the boards that will be glued (see photos below). Both boards that I glued for this post have lines drawn where the biscuits will go. I line up the plane joiner at those lines on the boards and drive the blade forward with my hand while holding the trigger for power. The process is easier than it sounds, but I was definitely afraid I would ruin the boards! The final part of this process was the actual gluing. I taped down wax paper to the table so that the boards would not be glued to it. Then, I used two different glue types at my dad's advice. I had planned on just using wood glue, but he said the gorilla glue works better for the planes while the wood glue is good for the notches. Prior to applying the glue, I wetted down the wood so that it does not dry out and crack. I applied the glue and left it to stand for two minutes. Then, I connected the boards with biscuits and glue. The final, final step was to clamp the boards together. I used four parallel clamps (red) to clamp the boards together and four face clamps (blue) on the edges to keep the boards from moving on the table. You might be able to see in the photos that the boards are not exactly the same length. They should not shift during gluing, which takes about two hours to dry, but in any case I will be cutting the boards to the same length after gluing them together. It makes no sense to have the same length prior to gluing simply because it is difficult to line them up by hand. The better route is to leave a couple inches extra and line them up perfectly with an incredibly sharp blade. |
Archives
May 2016
Categories |

 RSS Feed
