|
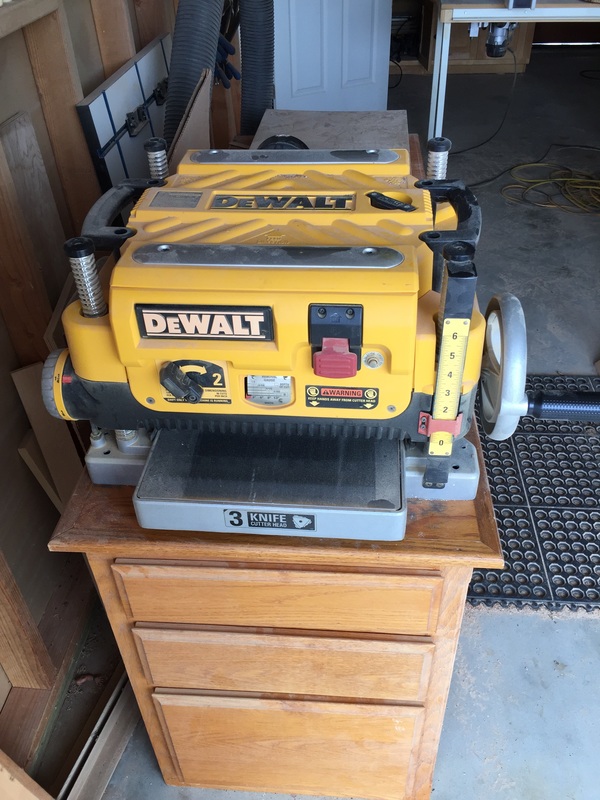
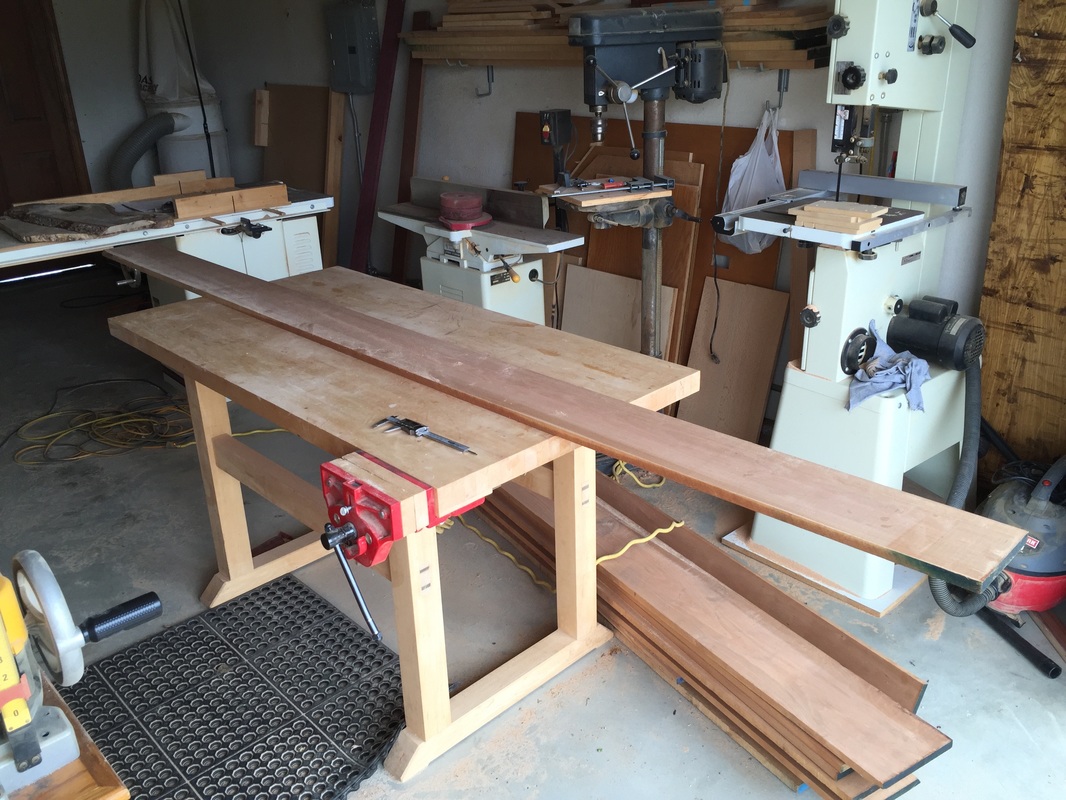
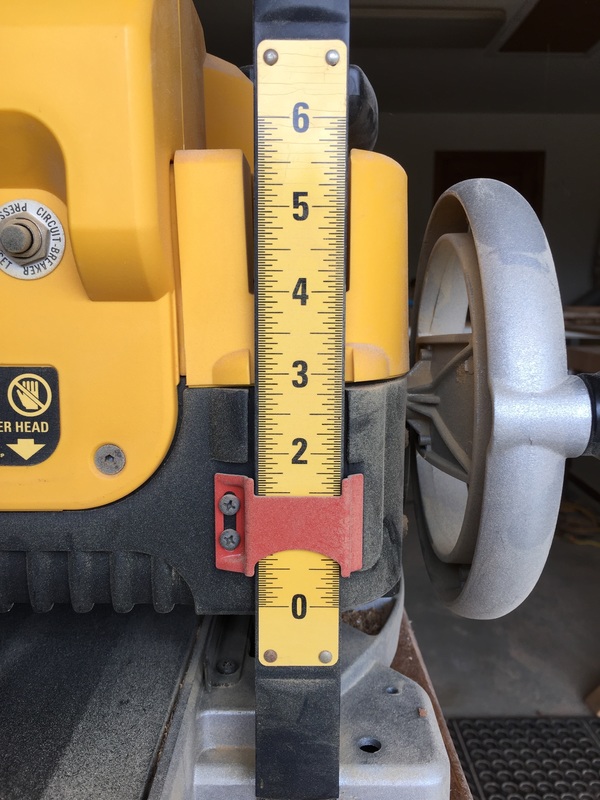
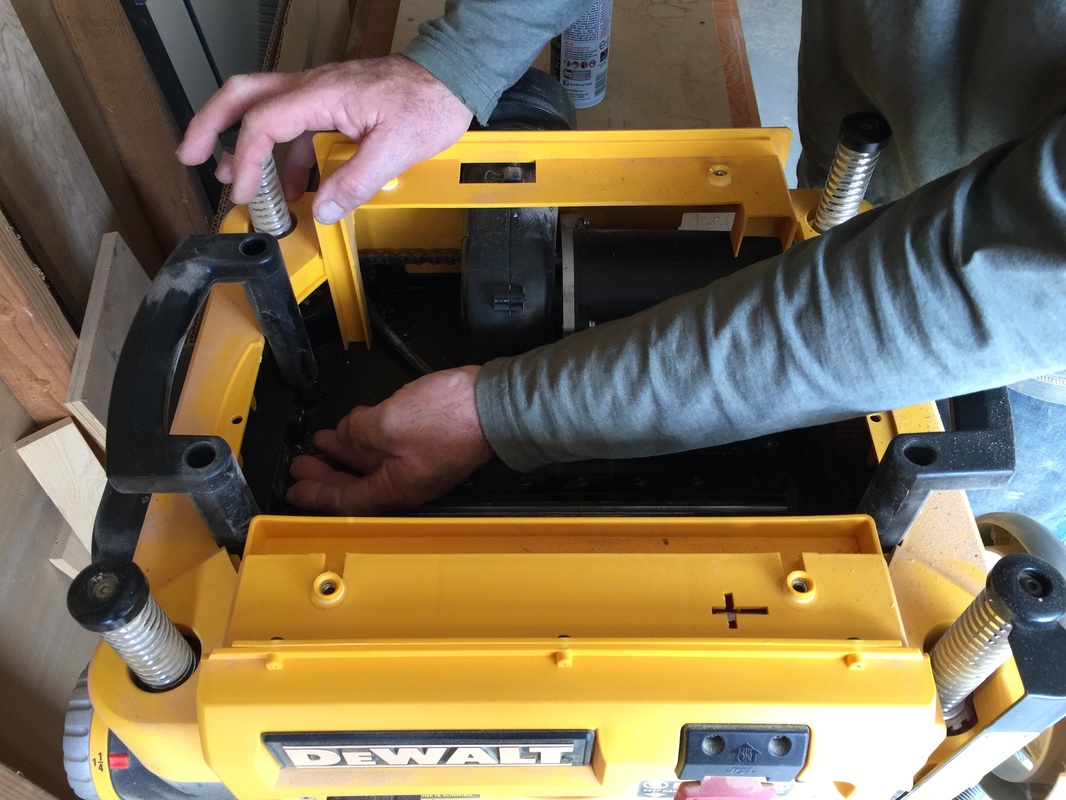
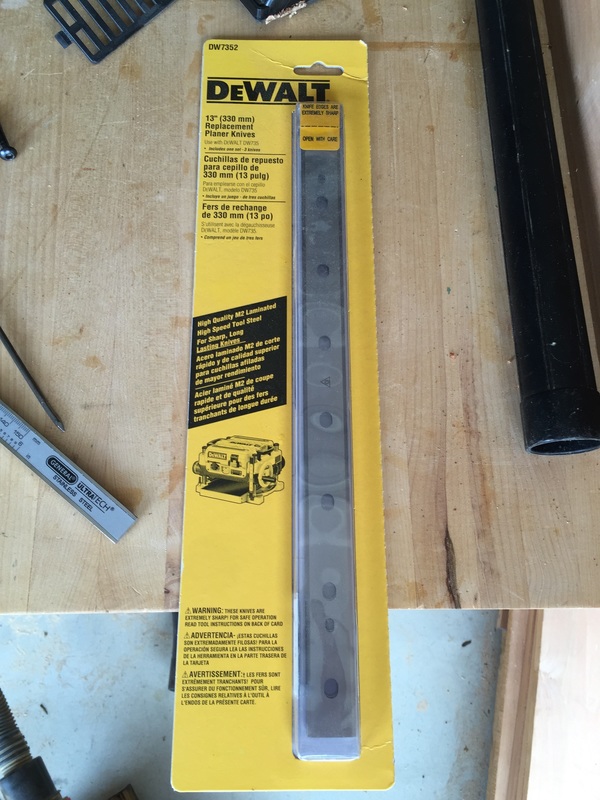
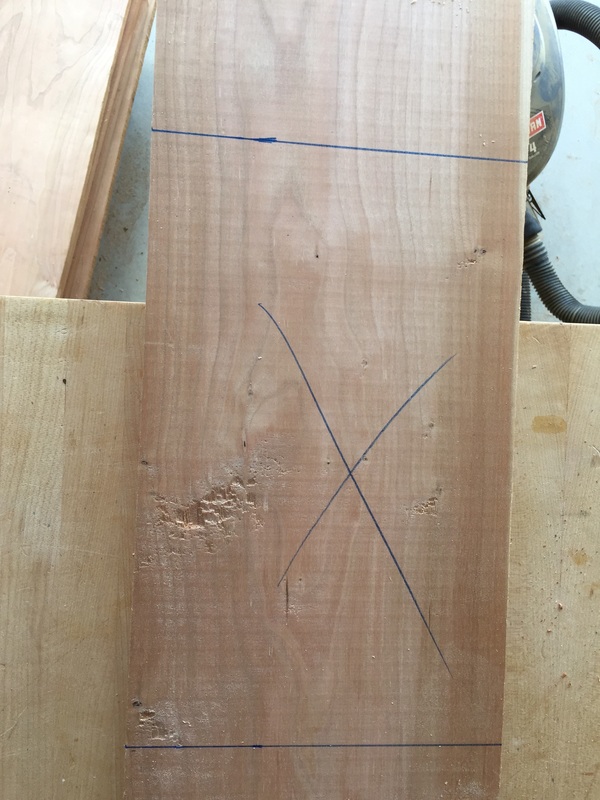
After a hiatus for edTPA, I starting working again on my bookcase. The going has been slow mostly because I do not want to screw up the boards I purchased. I passed a sign at one of the local schools today that said failure is the path to success if only you will learn from it, something like that at least, but failure does not really feel like an option when I am broke and paying thousands of dollars to spend 50-60 hours of my week on everything but this project; and if I screw up a board I go even more into debt.The stakes are high! Anyways, I have been sanding and surfacing boards to get them down to 0.75" thickness. I need to get all the boards to the same thickness or else the bookcase is going to look worse than the IKEA one I am trying to replace! I watched some videos on sanding to refresh my memory. I learned a great deal about different types and uses of sanding from this video. I knew about the different grits of paper and basic techniques, but this video helped focus on efficiency. I needed a refresher on planing/surfacing as well. I watched this video and this one to activate those long-since-used schema on how not to butcher the boards. All in all, the going is much slower than I wanted it to be, but I am chugging along. I will try to do some actual sawing before this project is over, but we will see. Thanks for reading! Edit: Here are some photos and a video from my second round of surfacing. I had to clean the surfacer too, which was definitely a learning experience!
3 Comments
The third week of my 20time Project revolves around the design. I searched on Pinterest for ages to find interesting designs, but ultimately I reverted back to a simple plan. I chose simplicity because I am an amateur. I figured that I should save the novel designs for future projects! In any case, my design is featured in the photograph below. 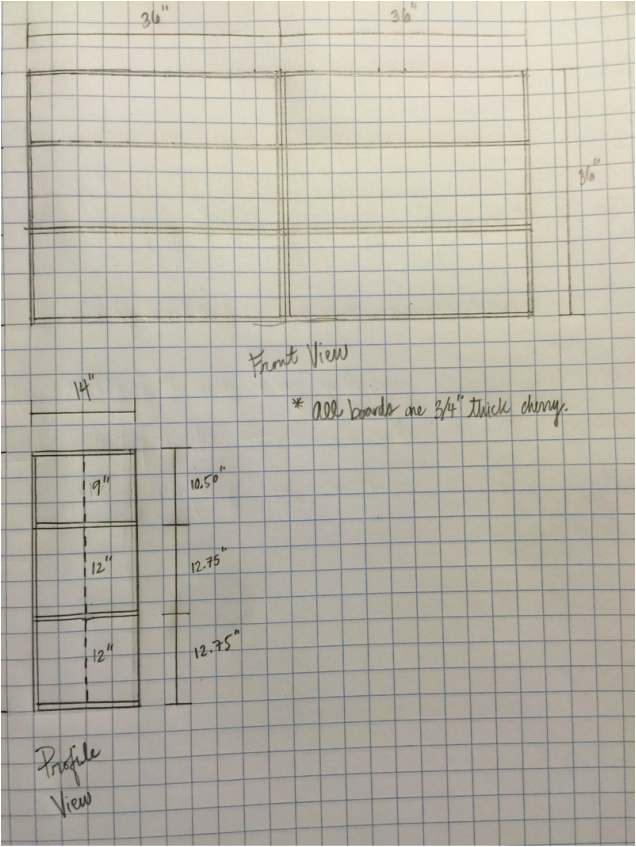 I stuck with the long and low design because I am going to situate the bookcase underneath a window. The window is roughly 6' wide and about 3' from the carpet, thus the measurements of the bookcase! The bookcase will extend a little past the edges of the window and about 1/2" above the windowsill. The main challenge of the design is keeping in mind the thickness of the boards (3/4"). The actual case will be 72"x36", but the books will not have all that room to inhabit. I have to dock the thickness for each shelf, plus the top and bottom boards. Since the design calls for two adjustable shelves, I have 3/4" * 4 to account for as far as the height. That leaves 33" of space for the books, which I split into two 12" spaces and one of 10". I have to dock 3/4" for each of the sides, plus I will have two boards dividing the bookcase in the middle for added stability. Once again, these will be 3/4" * 4, so I only have 33" of width with which to add books.
I came up with the measurements for the bookcase based on the placement of the case and the size of my books. Since the main purpose of the bookcase is to store educational books, I needed extra height and width. As opposed to, say, novels, educational books are typically 8.5"x11". The 12" space will work great for these books. I chose the depth of 14" because I have ERWC folders that are 12" wide. Finally, I decided to go with three shelving areas for books so that I could fit smaller books or trinkets on the top level. Most smaller books are 8-9" tall, so this space of 9" should be perfect. Anyways, this is my learning for the week. I look forward to actually getting to surfacing and cutting in the next installment! The second week of my 20time project consisted of making a final decision on the type of lumber I wanted to work with and then purchasing said lumber. I made the decision to go with cherry for a couple of reasons: namely sturdiness, aesthetics, and cost.
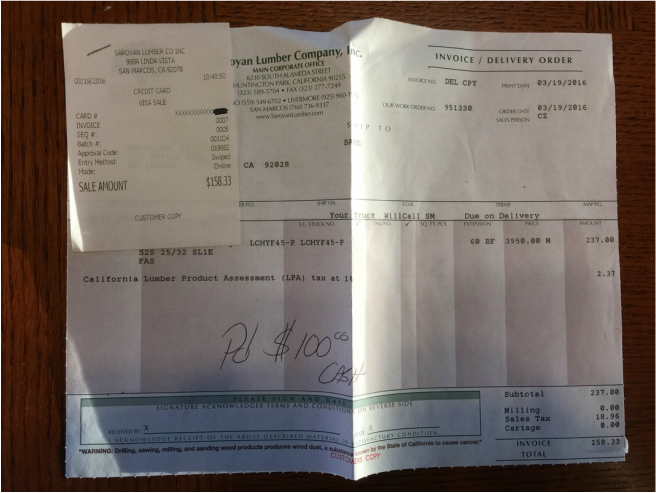 The main aspect of woodworking I learned about in the second week of my 20time project was selecting wood. The basics of selecting wood are trying to ensure that the wood does not have knots or chatter. (Wood chattering occurs when the piece has vibrated during the initial sawing of the board. It produces dents in the wood which means one has to plane more wood from the board.) These basics amount to two things: wood quality and waste.
To sum it all up, I have the wood for the project, I learned how to choose it, and my project is starting to materialize into reality. |
Archives
May 2016
Categories |
 RSS Feed
